

The button was right there. The PDF was open in the browser. Nothing happened.
Not a loading spinner. Not an error message. Just silence — and a growing suspicion that Brisk had stopped working entirely, right in the middle of a lesson planning session where teacher workload was already stacking up fast.
The instinct was to blame the extension. Refresh the page, reinstall Brisk, check the Chrome permissions. None of it changed anything. The summarize function stayed dead on that specific file — and only that file.
That detail mattered. It was the first clue that the diagnosis was wrong.
Best For
Teachers and course creators hitting a dead Brisk summarize button on official or institutional PDFs
Avoid If
The PDF is a flat image scan — Print to PDF won’t fix an OCR problem
Time Reality
Roughly 3–5 minutes to strip restrictions and get a working summary
Verdict
Brisk is working fine. The file’s content restrictions are the actual barrier
The Wrong Diagnosis: “Brisk Doesn’t Support This File”
The natural assumption is format incompatibility. The PDF looks normal — it opens cleanly, the text is visible, nothing appears broken. So when Brisk stays inactive, it feels like a tool limitation.
That assumption leads to the wrong fixes. Reinstalling the extension. Trying a different browser. Uploading the PDF to Google Drive and reopening it. Some of those steps waste ten minutes. Some of them accidentally work for a different reason — and that coincidence makes the real cause even harder to spot.
The actual problem has nothing to do with Brisk’s format support. It has to do with what the PDF is allowed to share.
What’s Actually Happening Inside the File
PDF files can carry invisible permission flags. A document author — or the software that exported it — can restrict what other programs are allowed to do with the content. One of those restrictions is called Content Extraction, and it’s exactly what it sounds like: other applications are blocked from reading or copying the text inside the file.
School districts, curriculum publishers, and government bodies frequently export PDFs with these restrictions enabled. It’s often a default setting in their document management systems, not a deliberate lockdown. The file wasn’t protected to stop a teacher from using it — it was just exported that way.
Brisk, like most AI tools operating through a browser extension, asks the operating system for the text content of the open file. If the file’s permission flags block content extraction, the OS returns nothing. Brisk doesn’t receive an error it can display to the user. It receives silence. And so the summarize button stays inactive, with no explanation visible on screen.
This is the friction point that’s easy to misread. The tool appears broken. The file appears fine. The actual failure is happening one layer below both of them.
The 30-Second Brisk Integrity Audit
- Extraction Flag: If the button is dead but the text is selectable, the PDF has an “Encryption” flag blocking Brisk. Re-export is the only fix.
- Image vs. Text: Can you highlight individual words? If not, it’s a scan, not a document. Print to PDF won’t help; you need OCR.
- The “Print to PDF” Hack: This isn’t just a workaround—it’s a clean-room export that strips 100% of institutional permission flags in 3 minutes.
- Nuance Check: AI summaries of curriculum standards often miss “conditional language” (e.g., “if time permits”). Never skip the final human audit.
Before and After: What the Workflow Looks Like
Before — Broken Workflow
File: Encrypted district curriculum PDF, opened in Chrome
Brisk state: Summarize button inactive, no feedback
Assumption: Extension bug or unsupported file format
Result: Manual reading of a 40-page standards document, roughly 45–60 minutes of prep time
After — Fixed Workflow
File: Same document, re-exported via Print to PDF
Brisk state: Summarize button active, summary generated in under a minute
Fix time: About 3 minutes total
Result: Usable summary ready for lesson planning, with key standards flagged for teacher review
The shift isn’t about Brisk performing better. It’s about removing the barrier that was preventing Brisk from performing at all. The tool was ready the whole time.
The Fix: Print to PDF Strips the Restrictions
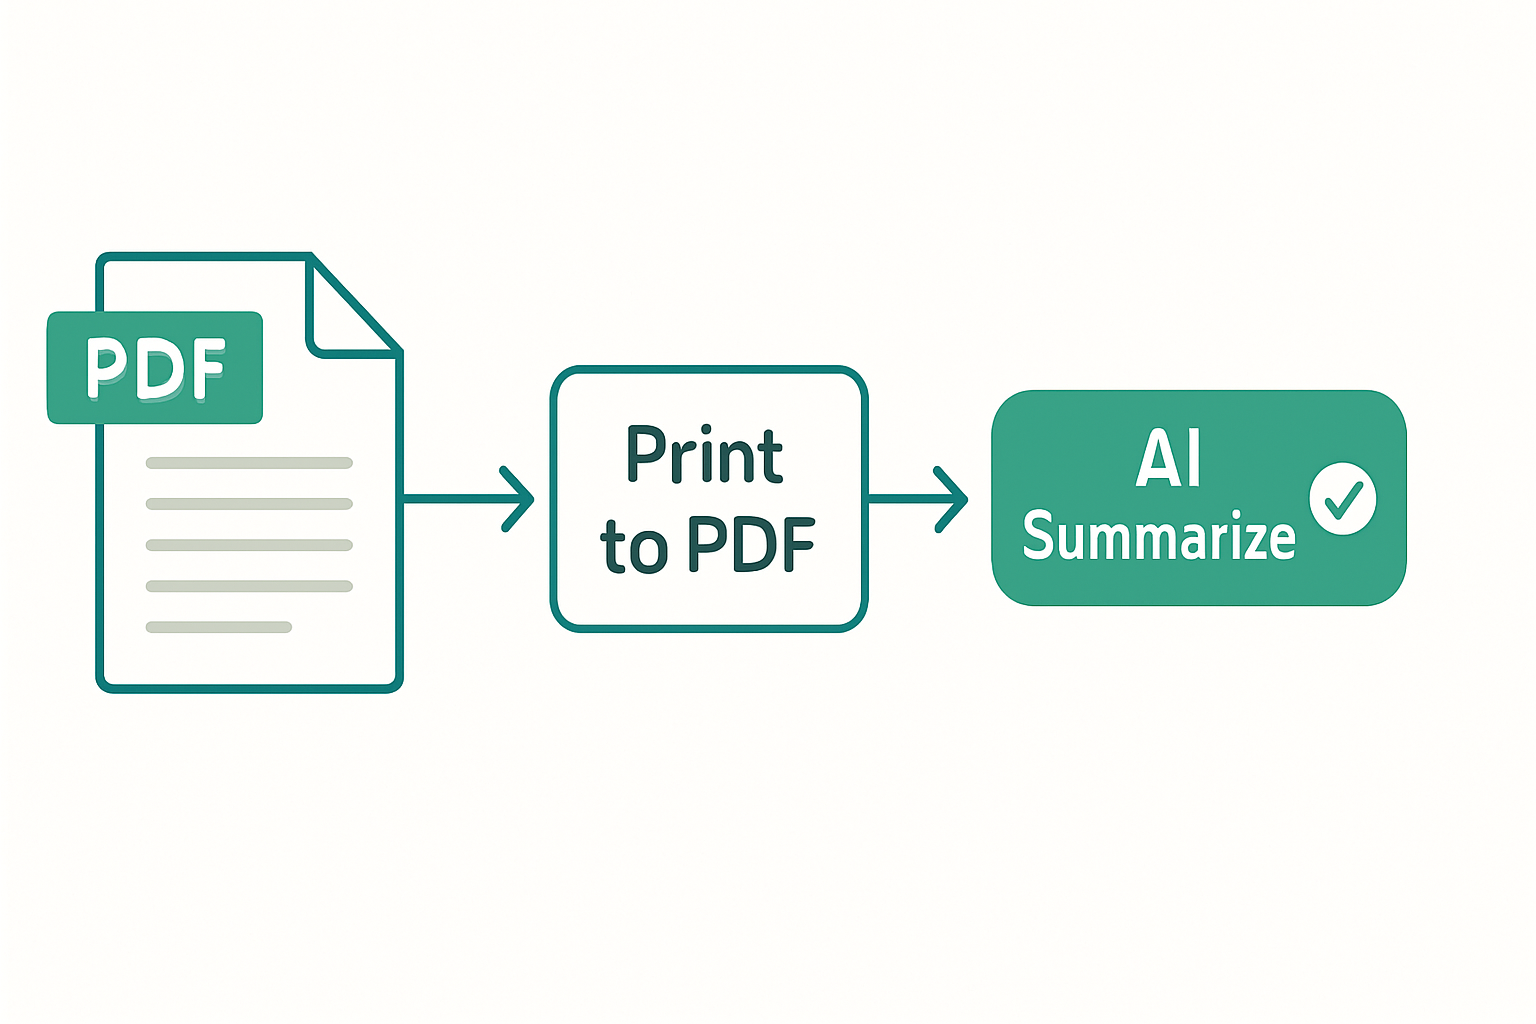
The fastest reliable method is also the simplest one. Open the restricted PDF in your browser, then print it — but instead of sending it to a physical printer, select Save as PDF (or “Print to PDF”) as the destination.
What this does is render the document visually and then re-export it as a new file. The new file is a clean, unrestricted PDF with no permission flags carried over. The content extraction block is gone because the new file was never given one.
Step-by-Step
- Open the restricted PDF in Chrome or your default browser.
- Press Ctrl+P (Windows) or Cmd+P (Mac) to open the print dialog.
- Change the destination to Save as PDF or Microsoft Print to PDF.
- Save the new file with a recognizable name.
- Open the new PDF in Chrome.
- Open Brisk — the summarize button should now be active.
This process takes roughly three to five minutes and requires no additional software, no subscriptions, and no technical knowledge beyond basic printing. For lesson planning workflows where a single standards document might otherwise require an hour of manual reading, this is a meaningful time recovery.
Where the Time Actually Goes
The blocked file isn’t the visible problem — it’s the invisible one. Most educators spend the lost time not on the document itself, but on diagnosing a tool that was never broken in the first place. Knowing the real cause cuts that diagnostic loop from 30 minutes to 3.
Where This Fix Breaks Down: OCR and Scanned Documents
Print to PDF works when the original document contains real, selectable text. It does not work when the PDF is a scanned image.
A scanned PDF is a photograph of a page. The text is not text — it’s pixels shaped like letters. When you print a scanned PDF to a new PDF, you get a clean image file with no restrictions, but Brisk still can’t extract any content from it because there is no machine-readable text to extract.
This is the edge case that matters most for teachers using older curriculum materials, photocopied handouts, or documents digitized from print archives. The Print to PDF method will appear to succeed — the button may even activate — but the summary output will be empty or inaccurate.
The fix for scanned documents is OCR (Optical Character Recognition), which converts the image-based text into real selectable text. Tools like Adobe Acrobat, Smallpdf, or ILovePDF offer OCR processing. Run the scanned file through OCR first, then apply the Print to PDF step if needed, then open in Brisk.
That’s a longer chain — OCR processing can add five to fifteen minutes depending on document length and tool — but it’s the only path that works for image-based files. There is no shortcut around the absence of machine-readable text.
What This Does Not Solve
Print to PDF removes content extraction restrictions. It does not solve every reason Brisk might be inactive on a PDF.
Password-protected files
If the PDF requires a password to open, Print to PDF won’t bypass that. The password must be entered and the file unlocked before the print step.
Brisk extension not active on the tab
Brisk operates as a Chrome extension and needs to be active on the current tab. If the extension icon is greyed out or the tab type isn’t supported, the summarize function won’t appear regardless of file restrictions.
Very large documents
Extremely long PDFs can cause processing delays or incomplete summaries. Splitting the document into sections before summarizing often produces more usable output.
Network or account-level blocks
Some school networks filter AI tool traffic at the firewall level. If Brisk fails on multiple file types consistently, the block may be at the network layer, not the file layer.
The Education Workflow This Unlocks
The practical value here isn’t just a fixed button. It’s a repeatable pattern for how to handle official documents in a lesson planning workflow.
Workflow: District Standards Document → Lesson-Ready Summary
Input
40-page encrypted district curriculum PDF
Step 1 — Strip restrictions
Print to PDF → clean unrestricted file (~3 minutes)
Step 2 — Summarize with Brisk
AI-generated summary of key standards and objectives (~1 minute)
Step 3 — Teacher review
Check summary against original for accuracy, flag any misrepresented standards (~10 minutes)
Output
Condensed, usable reference for lesson planning — roughly 45 minutes faster than manual reading
The teacher review step isn’t optional. AI summaries of standards documents can flatten nuance, merge related objectives, or miss conditional language that matters in a real classroom context. The summary is a starting point for planning, not a replacement for reading the source material entirely.
Free Resource: AI Workflow Checklists for Educators
If you’re building a repeatable lesson planning process around AI tools, the AI EdTech Review workflow notes cover common friction points like this one — including file prep steps, prompt structures for curriculum documents, and review checkpoints that keep human judgment in the loop.
Available in the AI EdTech Review resource library — practical, not promotional.
The Practical Takeaway
When Brisk’s summarize button stays inactive, the file’s content extraction restrictions are almost always the cause — and a Print to PDF export removes them in under five minutes without any additional tools.
The broader pattern applies to every AI reading tool: the extension reads what the operating system allows it to read, and official institutional documents are routinely exported with flags that silently block that access.
The tool wasn’t failing — the file was refusing to be read, and no one thought to tell you that.